As Christmas is fast approaching, I thought it appropriate to build my very first ginger bread house from scratch! I honestly thought mine would be a disaster but it work out really well, but I will say it is definitely a marathon, not a sprint! I decided to take my camera and take you all on the journey with me. So for anyone who is considering it, definitely give it a go, if I can do it, so can you!
This is the sugar supplies needed. As you can see, more is more. You can never really have too much!
Firstly you will need:
- 3 1/2 cups self-raising flour
- 1 cup plain flour
- 1 tablespoon ground ginger
- 2 teaspoons ground cinnamon
- 1 cup firmly packed brown sugar
- 185g butter, chopped
- 1/2 cup golden syrup
- 2 eggs, lightly beaten
- 1/4 cup pure icing sugar
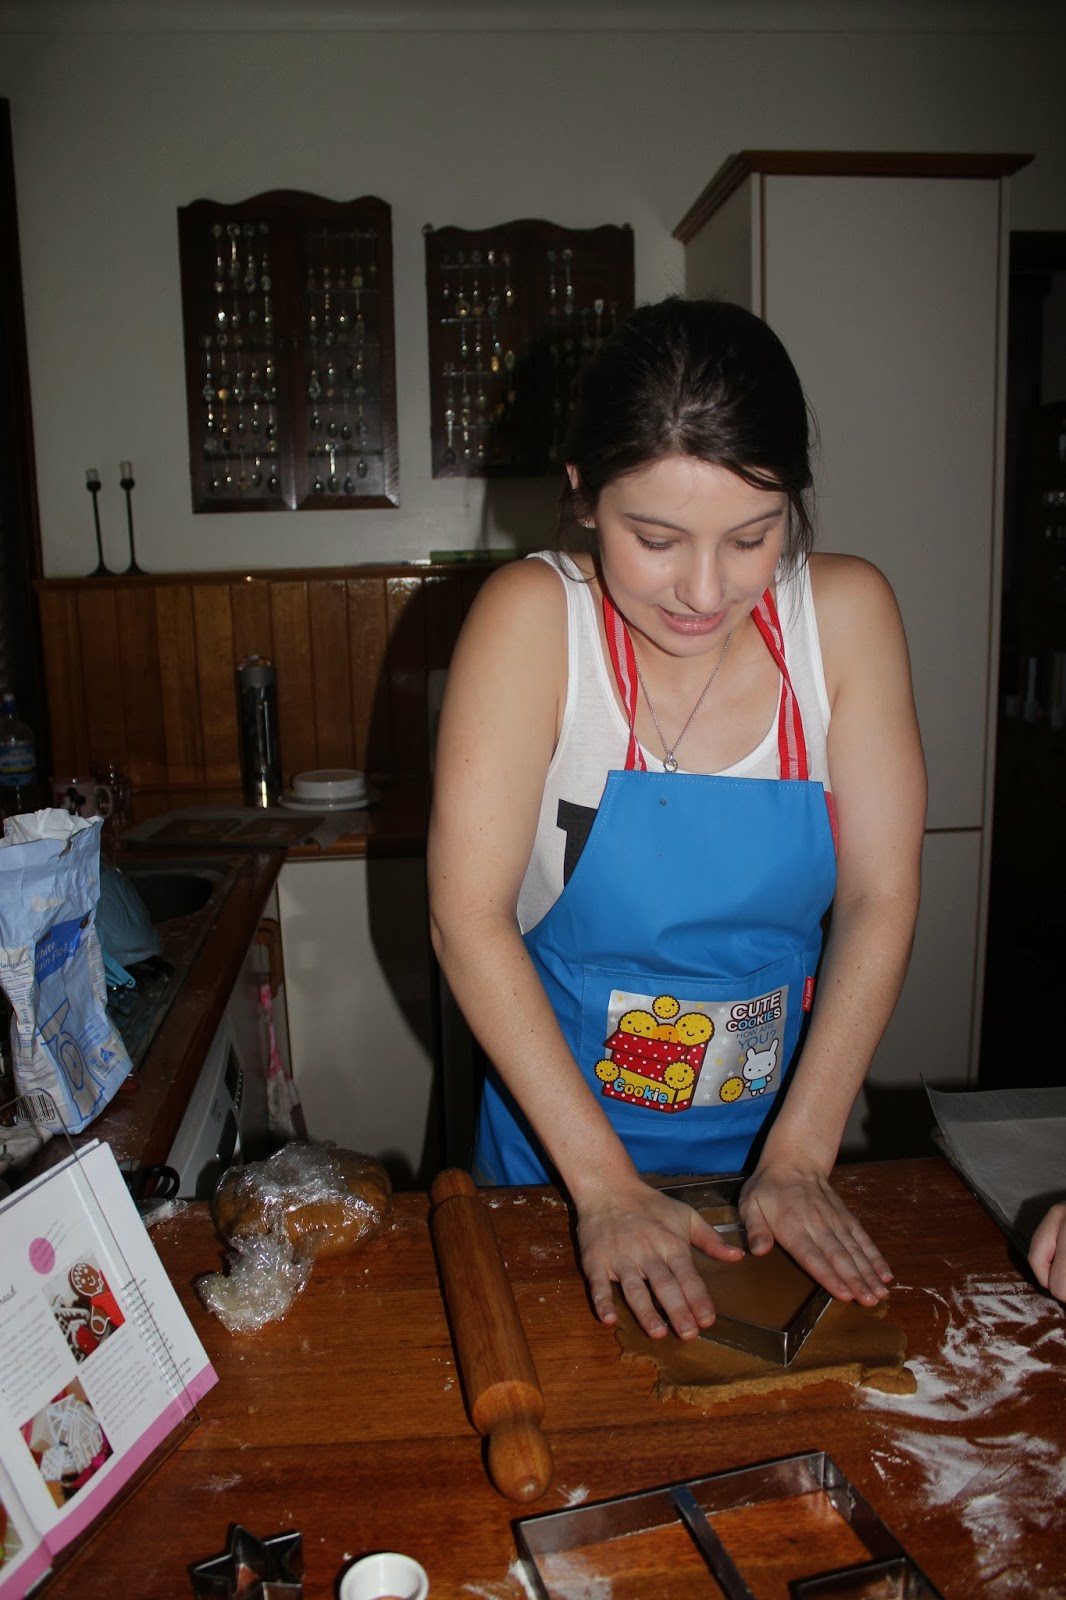
Step 1Combine flours, ginger, cinnamon, sugar and butter in a food processor. Process until mixture resembles breadcrumbs. Whisk golden syrup and eggs together in a jug. With the motor running, add egg mixture and process until dough just comes together. Turn onto a lightly floured surface. Knead gently until smooth. Cut dough in half and wrap in plastic wrap. Refrigerate for at least 4 hours or until well chilled.
Step 2Roll dough, 1 portion at a time, between 2 sheets baking paper until 5mm thick. Remove top layer baking paper. Using cardboard cut-outs as a guide, cut shapes from dough (see tip). Place gingerbread in a single layer on trays. Freeze for 15 minutes or until firm.
Step 3Preheat oven to 180°C. Line 4 baking trays with baking paper. Place gingerbread on trays. Bake, 2 trays at a time, for 15 minutes or until firm. Cool on trays.
Step 4Make royal icing: Using an electric mixer, beat eggwhites until soft peaks form. Gradually add icing sugar, beating constantly until thick.
Step 5
Use icing to join walls together, placing unopened cans of food and pins to support walls until icing dries. Use icing to attach roof to walls, using cans to support roof (to prevent it fom slipping off walls) until icing dries completely.
Step 6
Spoon 1/2 cup remaining icing into a snap-lock bag. Trim 1 corner of bag and pipe windows and doors on house and frost on roof edges. Allow to dry. Spoon remaining icing into snap-lock bag. Pipe a little icing on the back of each lolly and attach to house to decorate. Dust roof with icing sugar.
And it is that easy! Makes everything that much more christmasy. I encourage anyone who is even slightingly considering it, to do it. It was loads of fun and the end result is great and looks very effective!